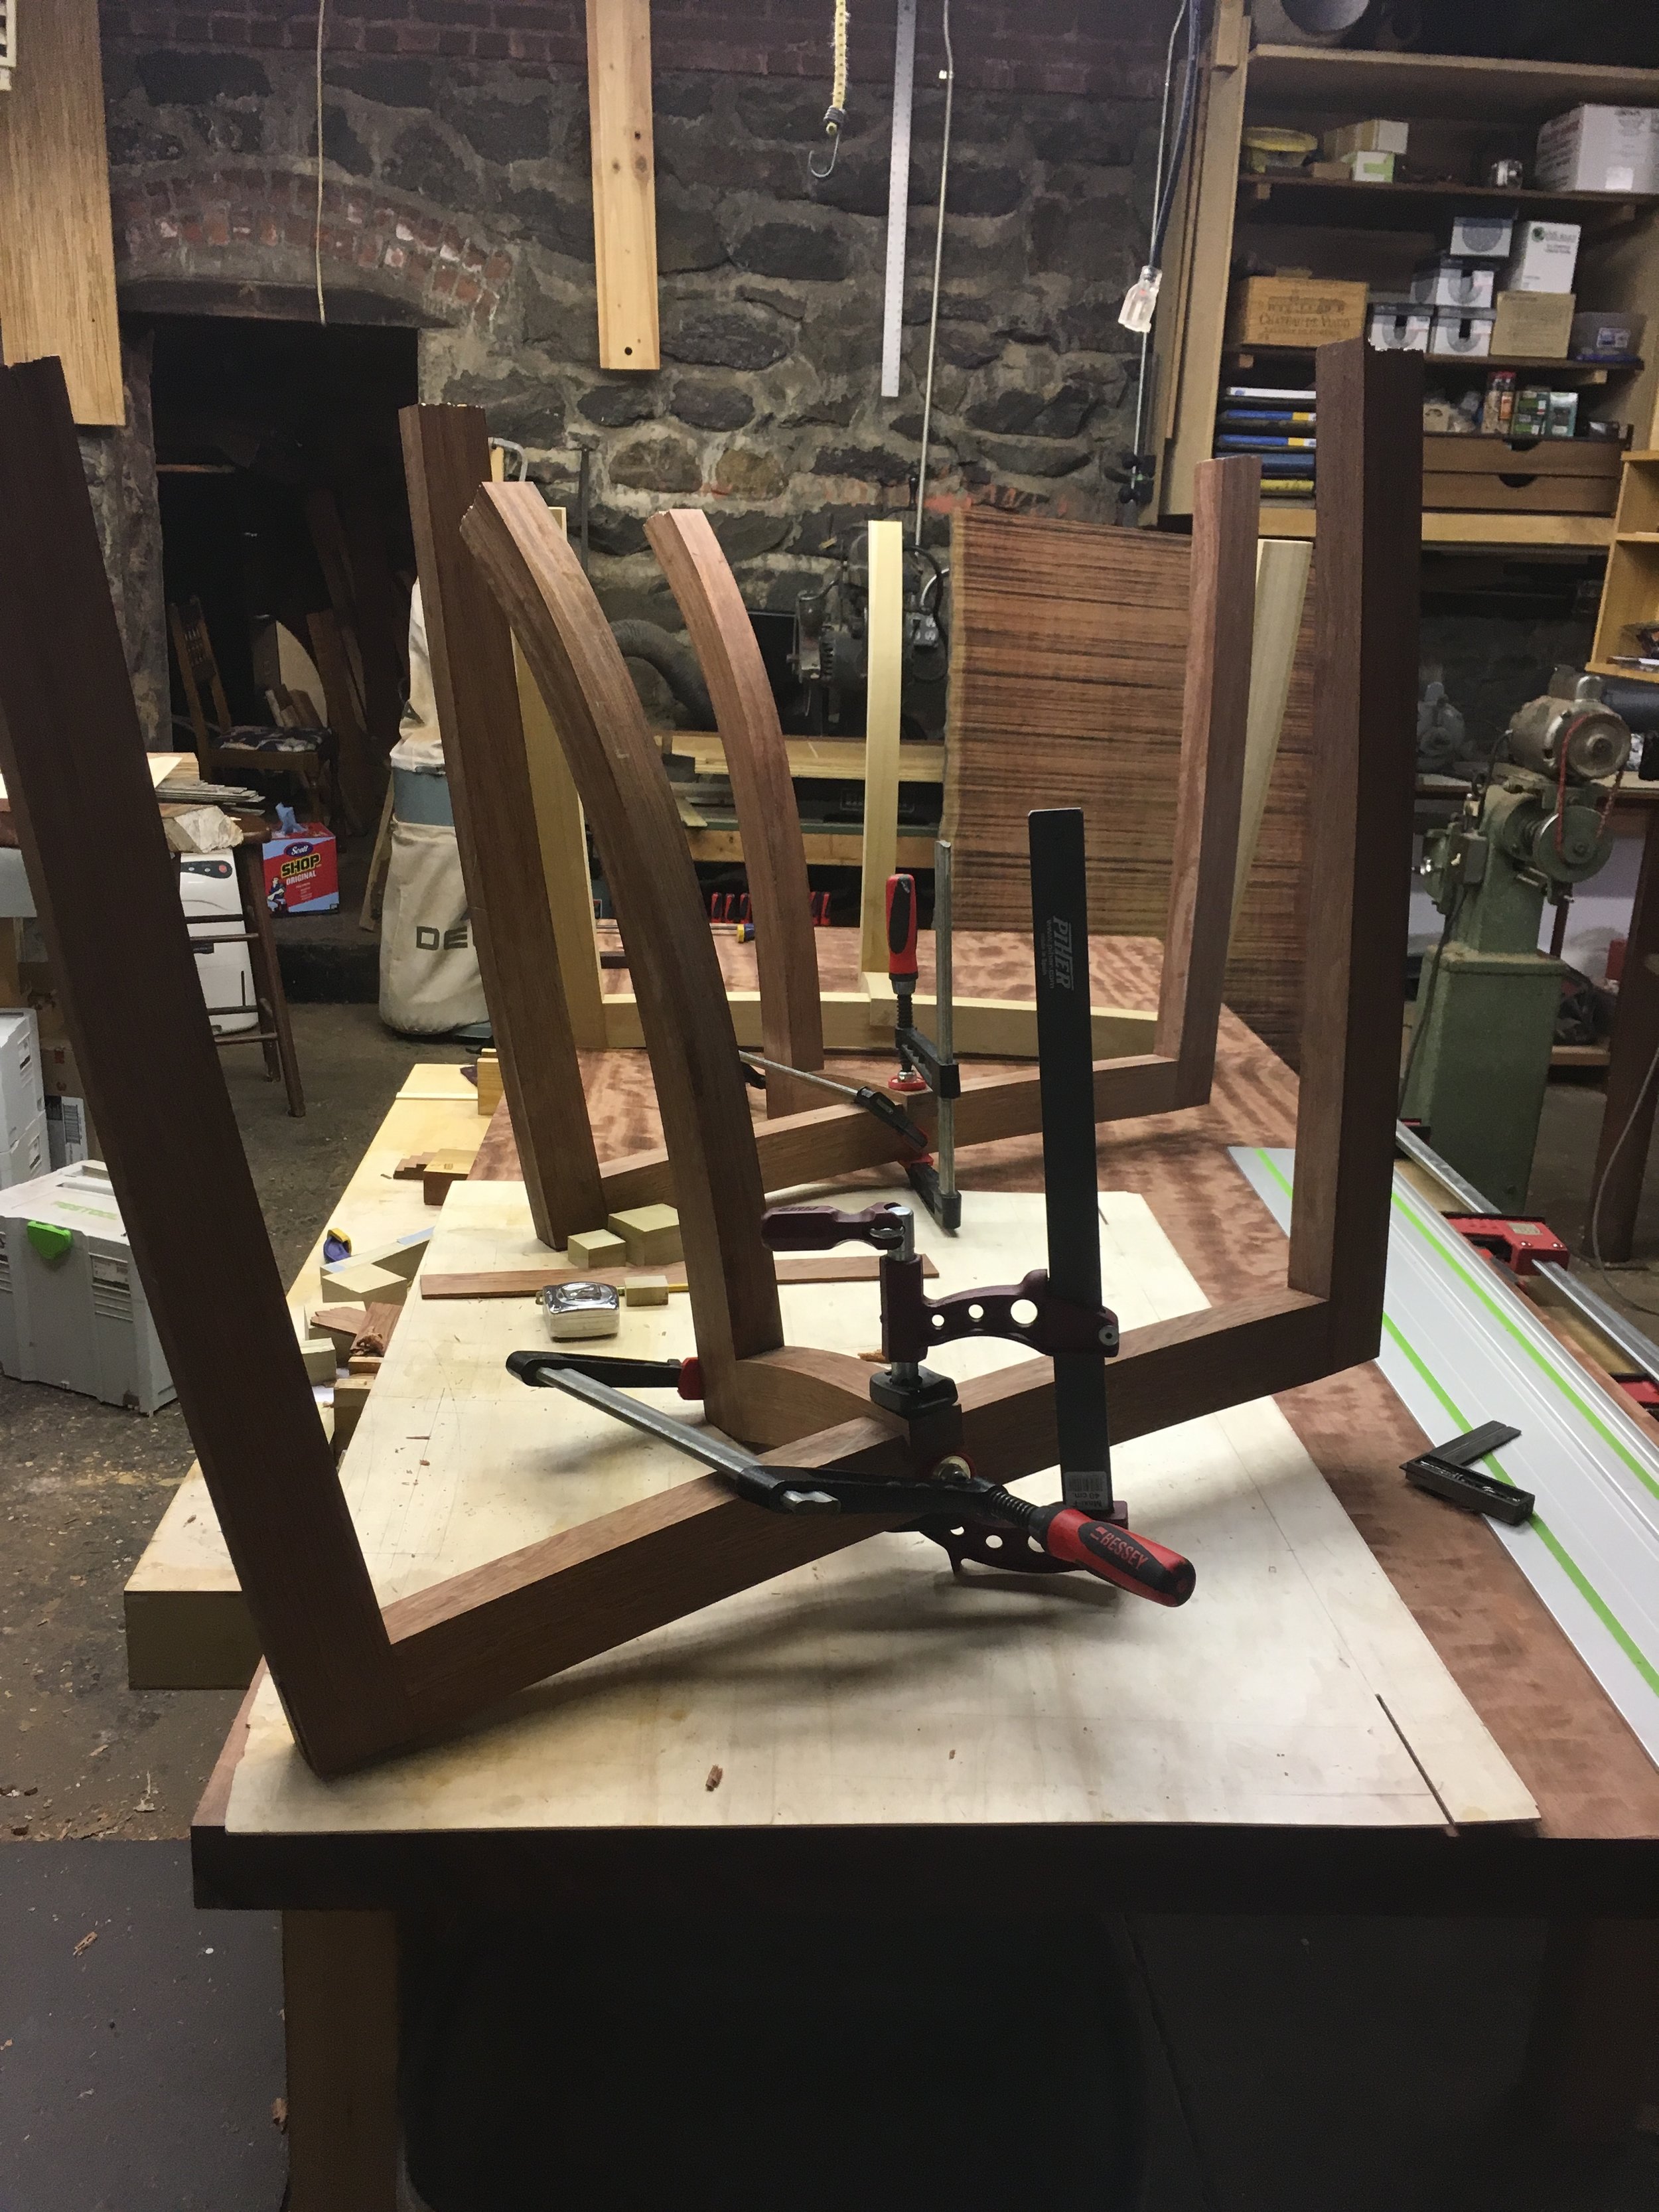
There are several ways to bend a piece of wood and make it stay that way. The one people usually assume I will use is accomplished by cooking the wood in hot steam until the fibers become slippery and slide along one another as the hot wood is bend into shape and held that way until it is cool. Steam bending is a little bit loosey-goosey in nature and the parts don't always wind up being the same shape... and in this case I didn't think the bubinga would want to bend (or I was afraid of not being strong enough to bend it and just couldn't deal with that). The technique shown below (and the one used on this table) is called bent lamination. The idea is this: take a piece of wood, cut it into thin strips being careful to keep them in their original order if you'd like it to look like one piece of wood afterward, put glue on everything and clamp the whole mess to a form you've made with the desired curve. After the glue dries, the pieces will retain the shape of the form with very little variation.
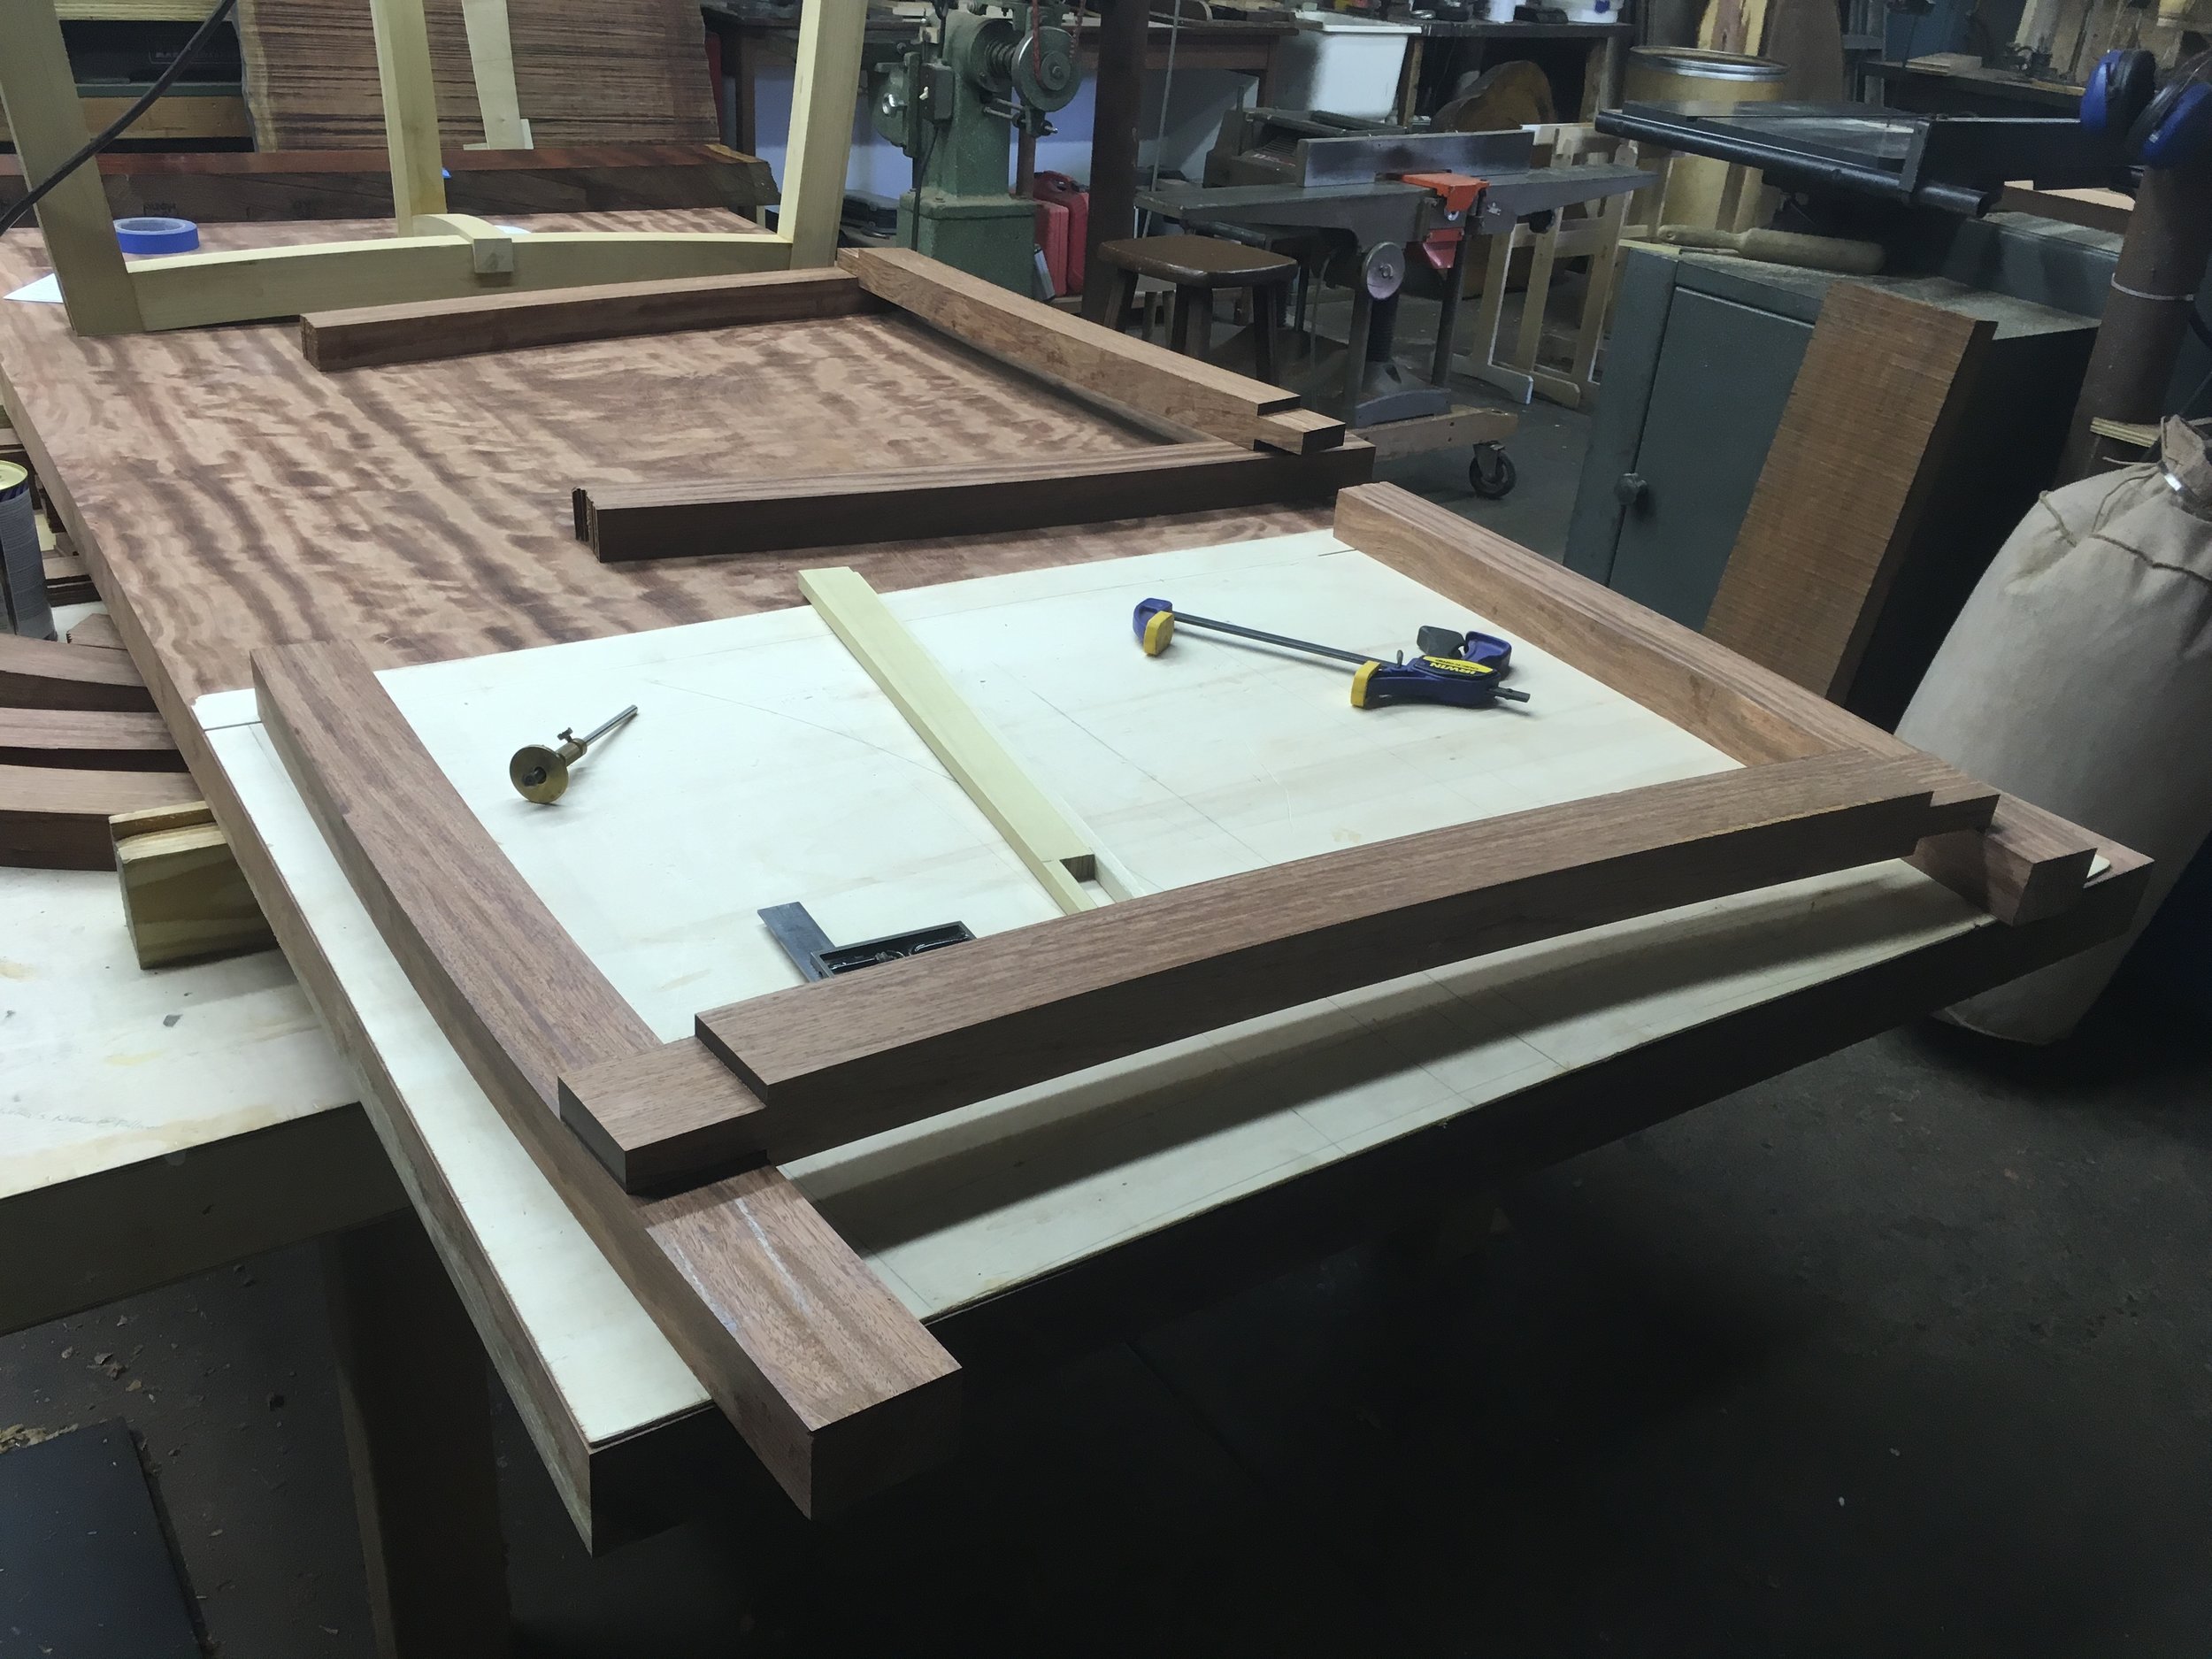
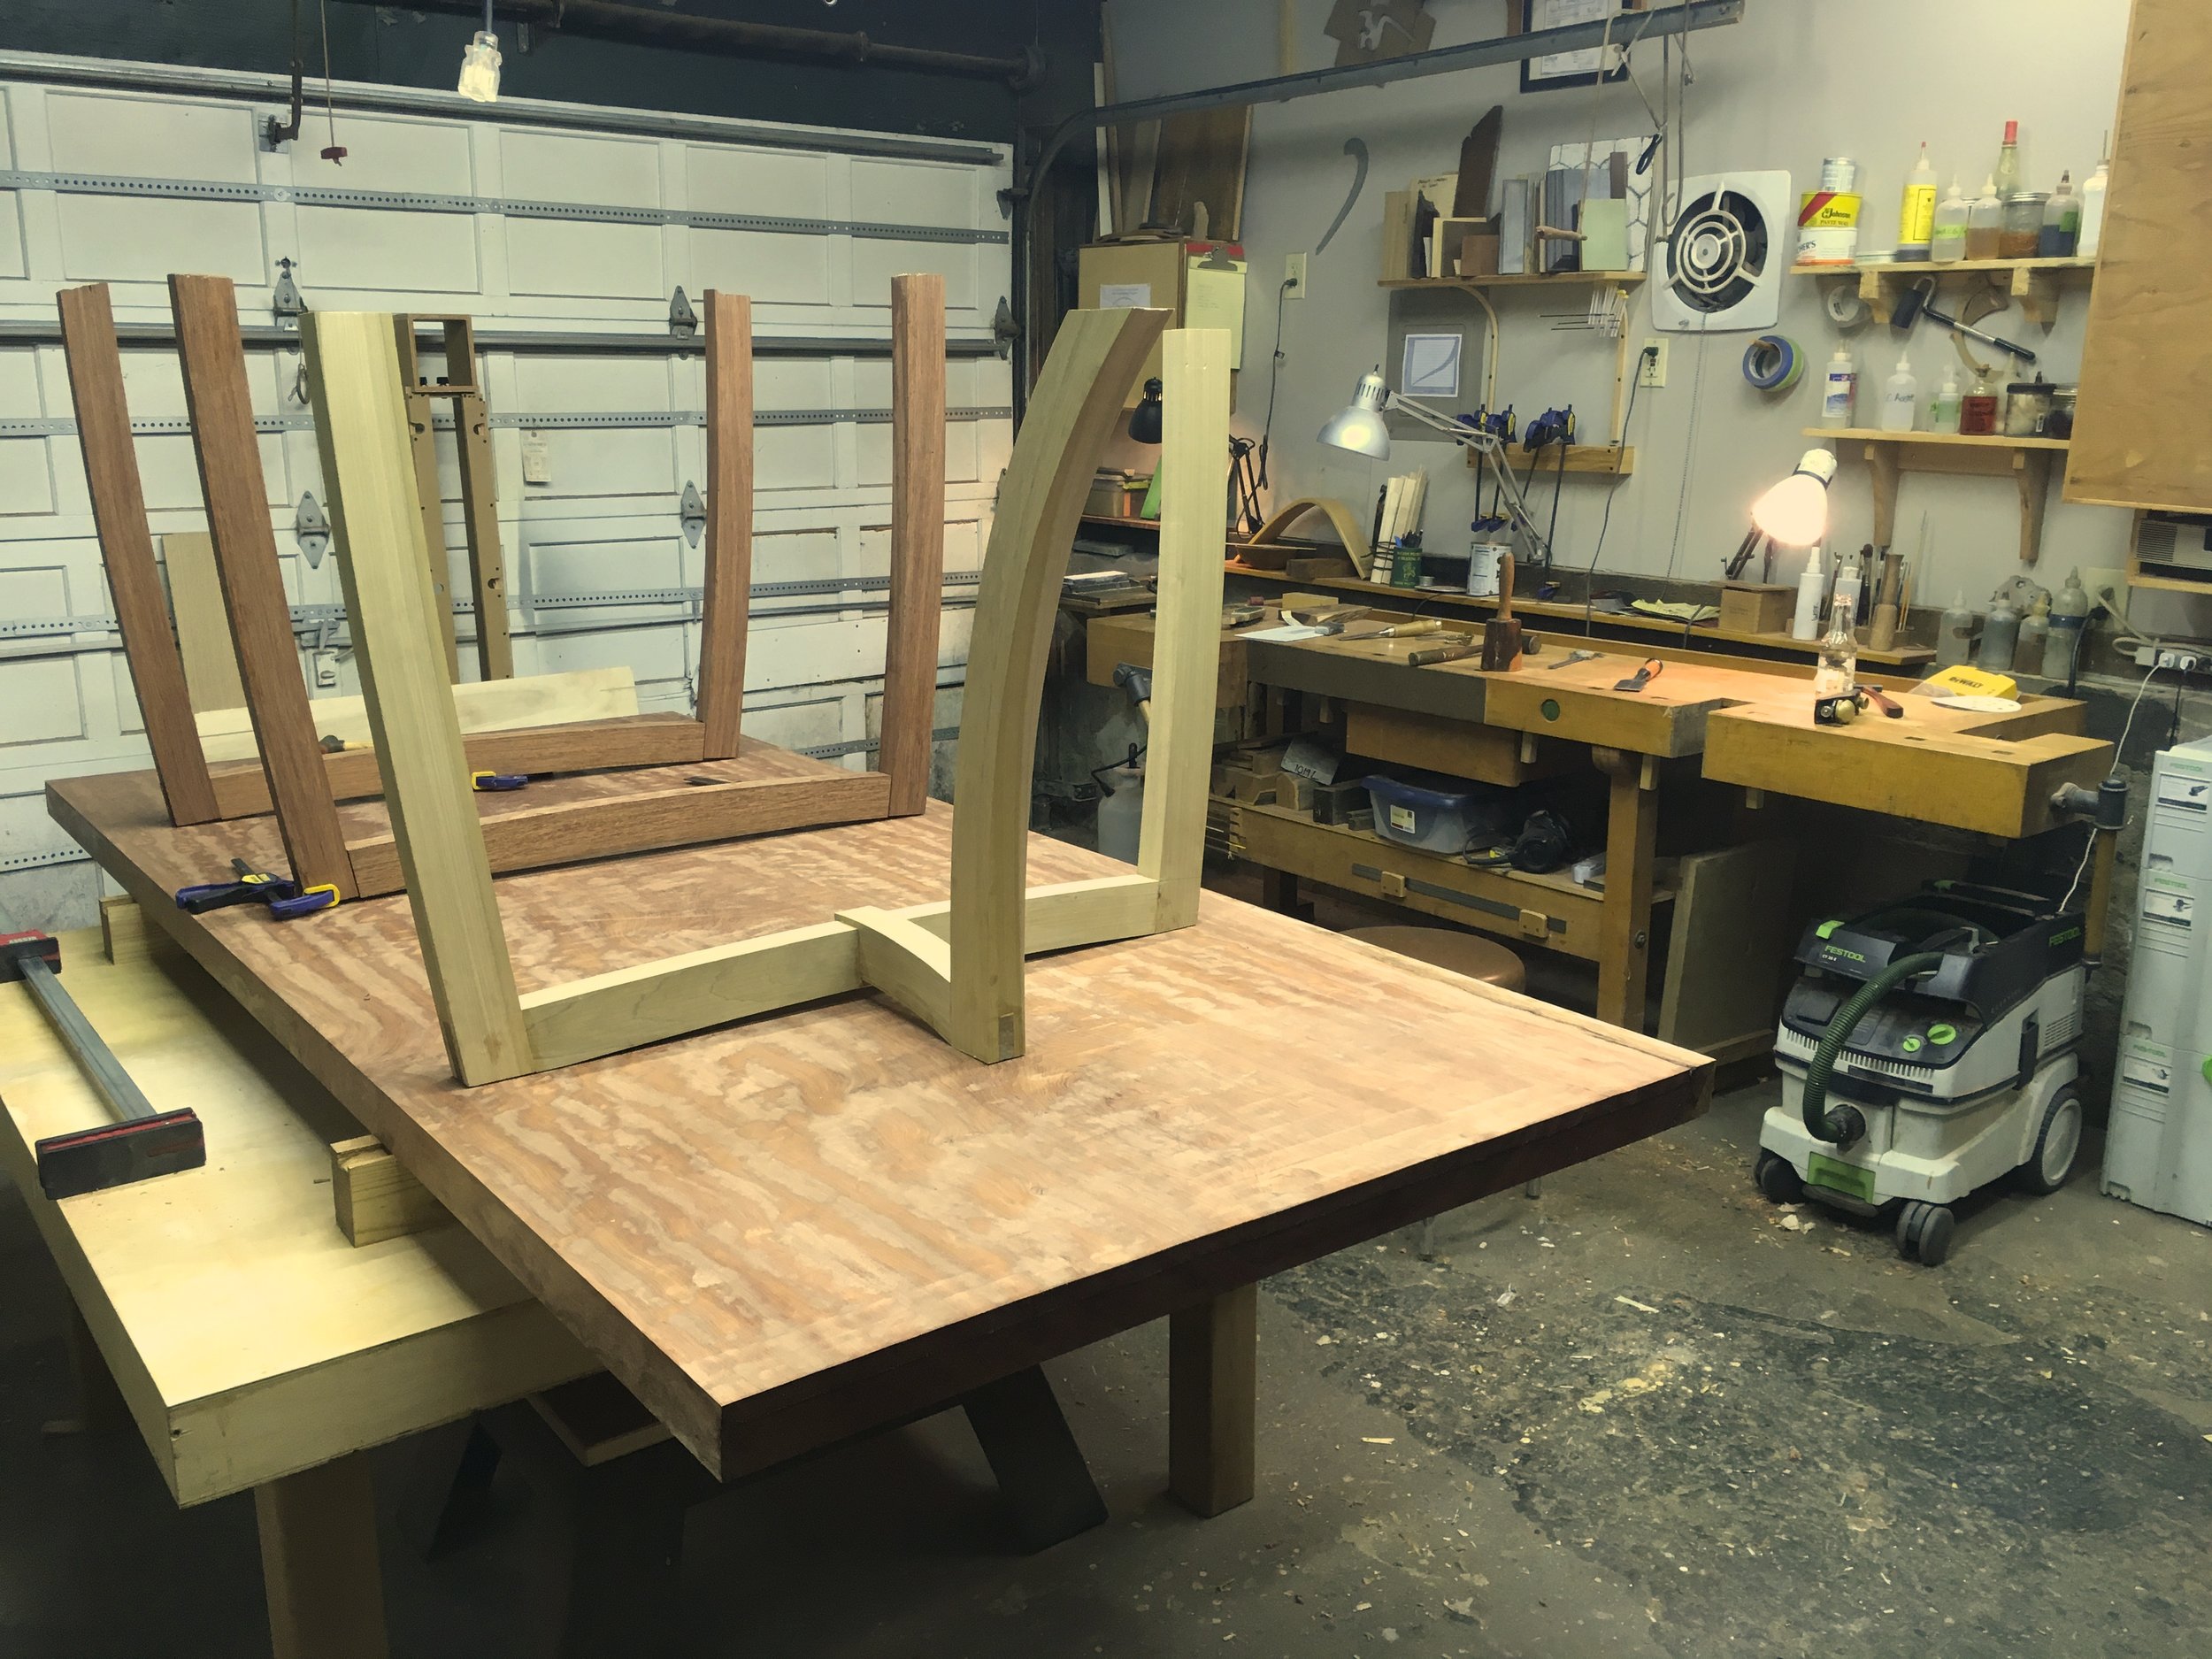
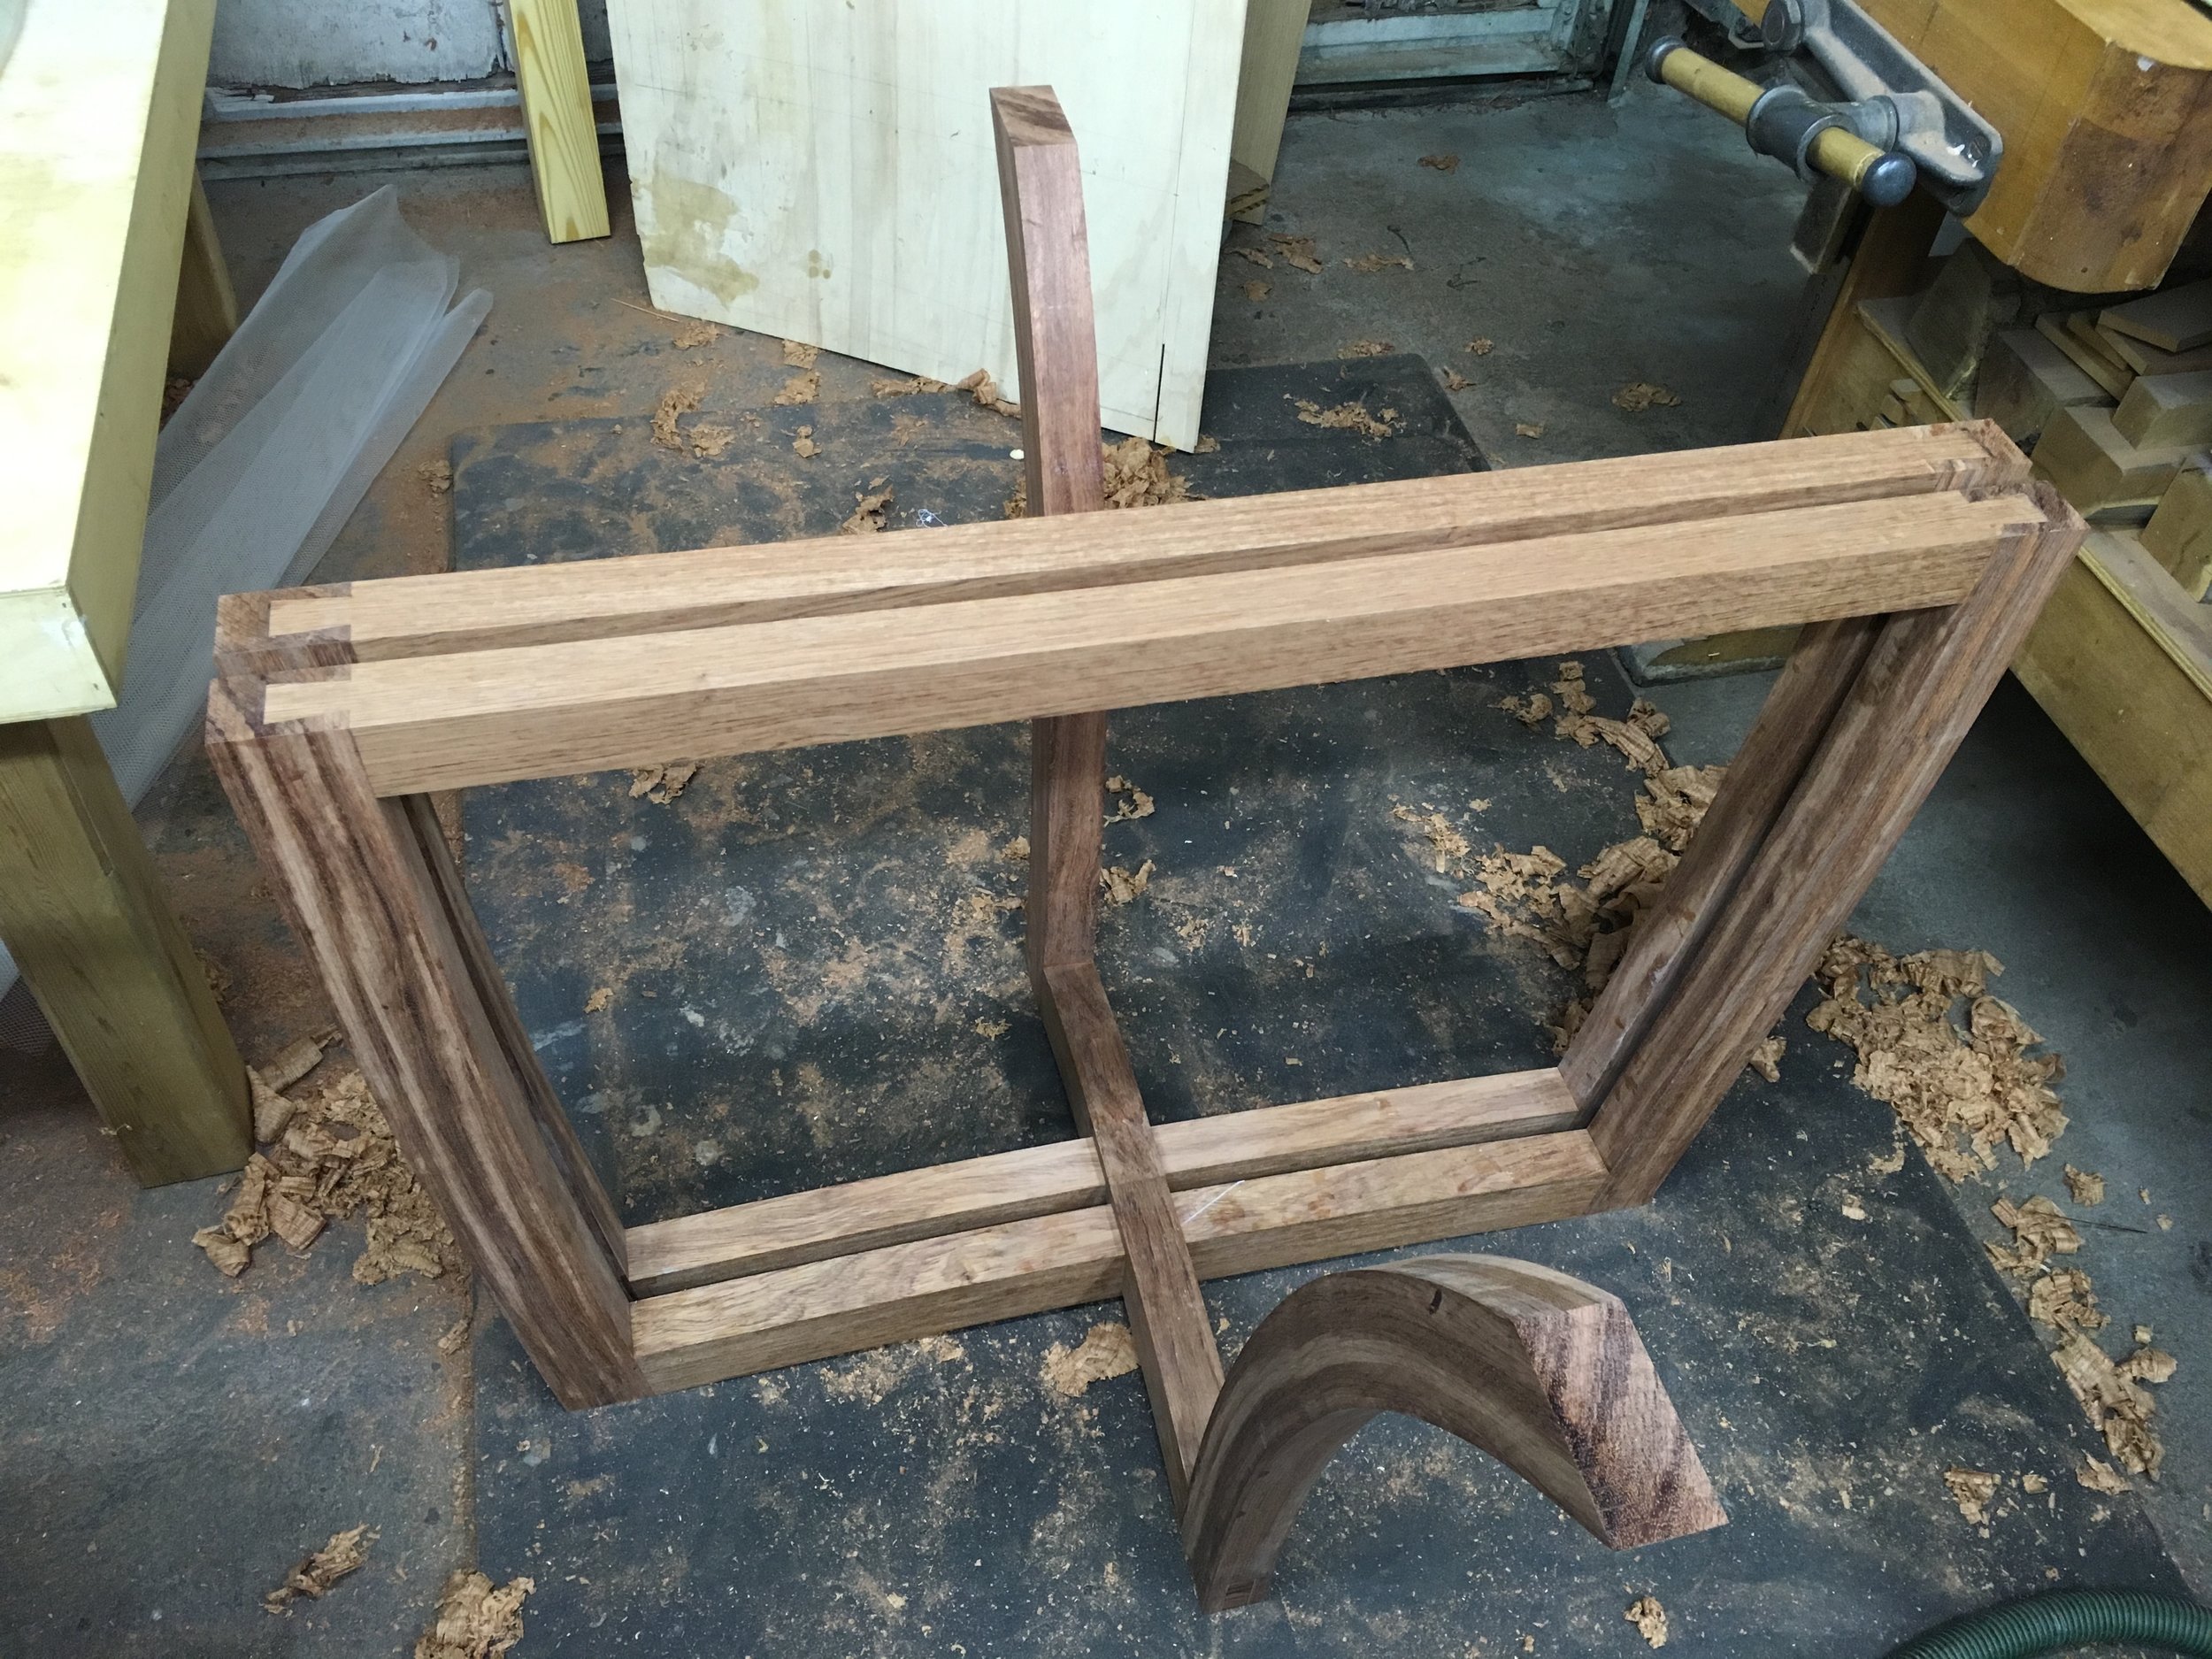
Below are the parts which will make up the table base. They start out looking pretty rough but once cleaned up it is hard to tell they ever were cut apart and then glued back together!
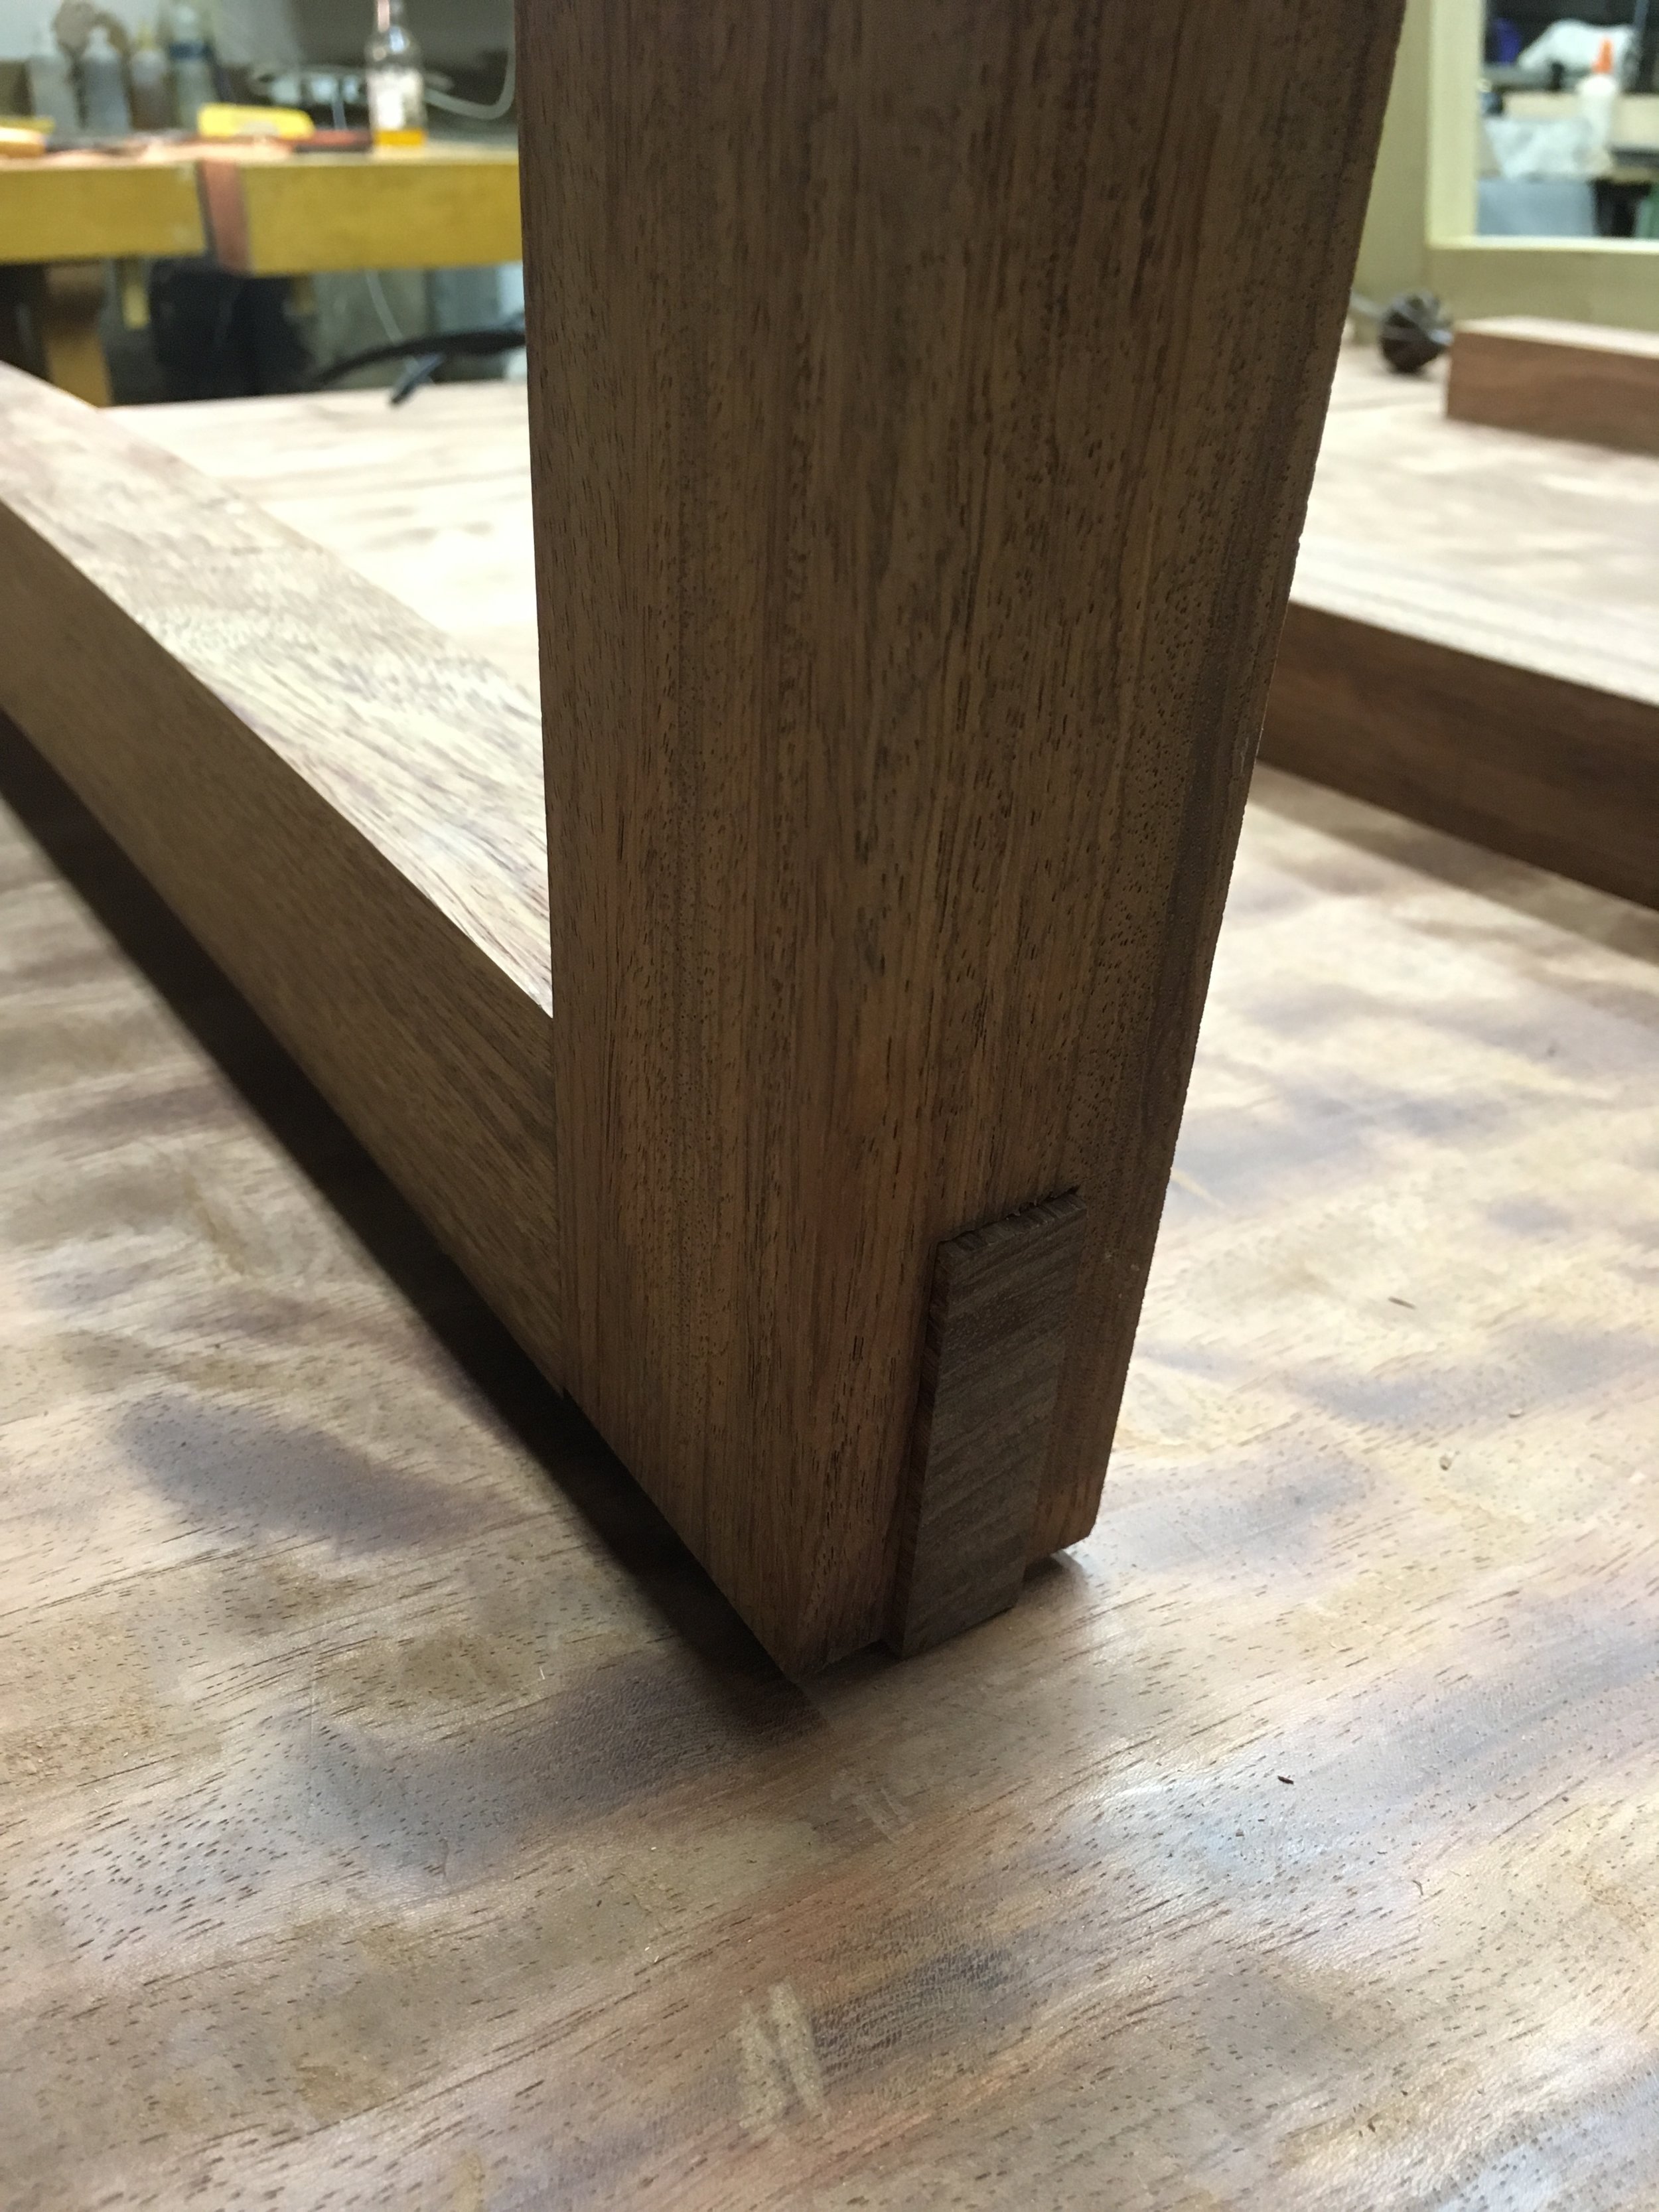
This is the end grain of a carefully laminated leg. If you look very closely you can see that there are tiny vertical lines spaced regularly where the glue joints are. I spend so much energy trying to hide glue joints most of the time and here I find myself showing them off. Oh well, on to the joinery.
...And just what does this guy think he's doing?!?
Cutting some bridle joints to hold it all together. As you can hopefully see in the pictures below, the legs have a notch cut out of their lower three inches to slide over the thinned-down end of that lower stretcher running from left to right. This is the whole idea of joinery... instead of simply gluing one piece to the other, the amount of glue surface is at least doubled, and the shoulders where the parts butt tightly against one another provide shear support to help the table withstand the oblique forces encountered when, for instance, one ninja throws another against that top edge some stormy night in the office. My clients, no doubt, are continuously comforted by the knowledge that I am able to both comprehend and address such concerns.
I must confess I felt a little like I was making the wooden hull of a boat for a while here until I began to put it all together.
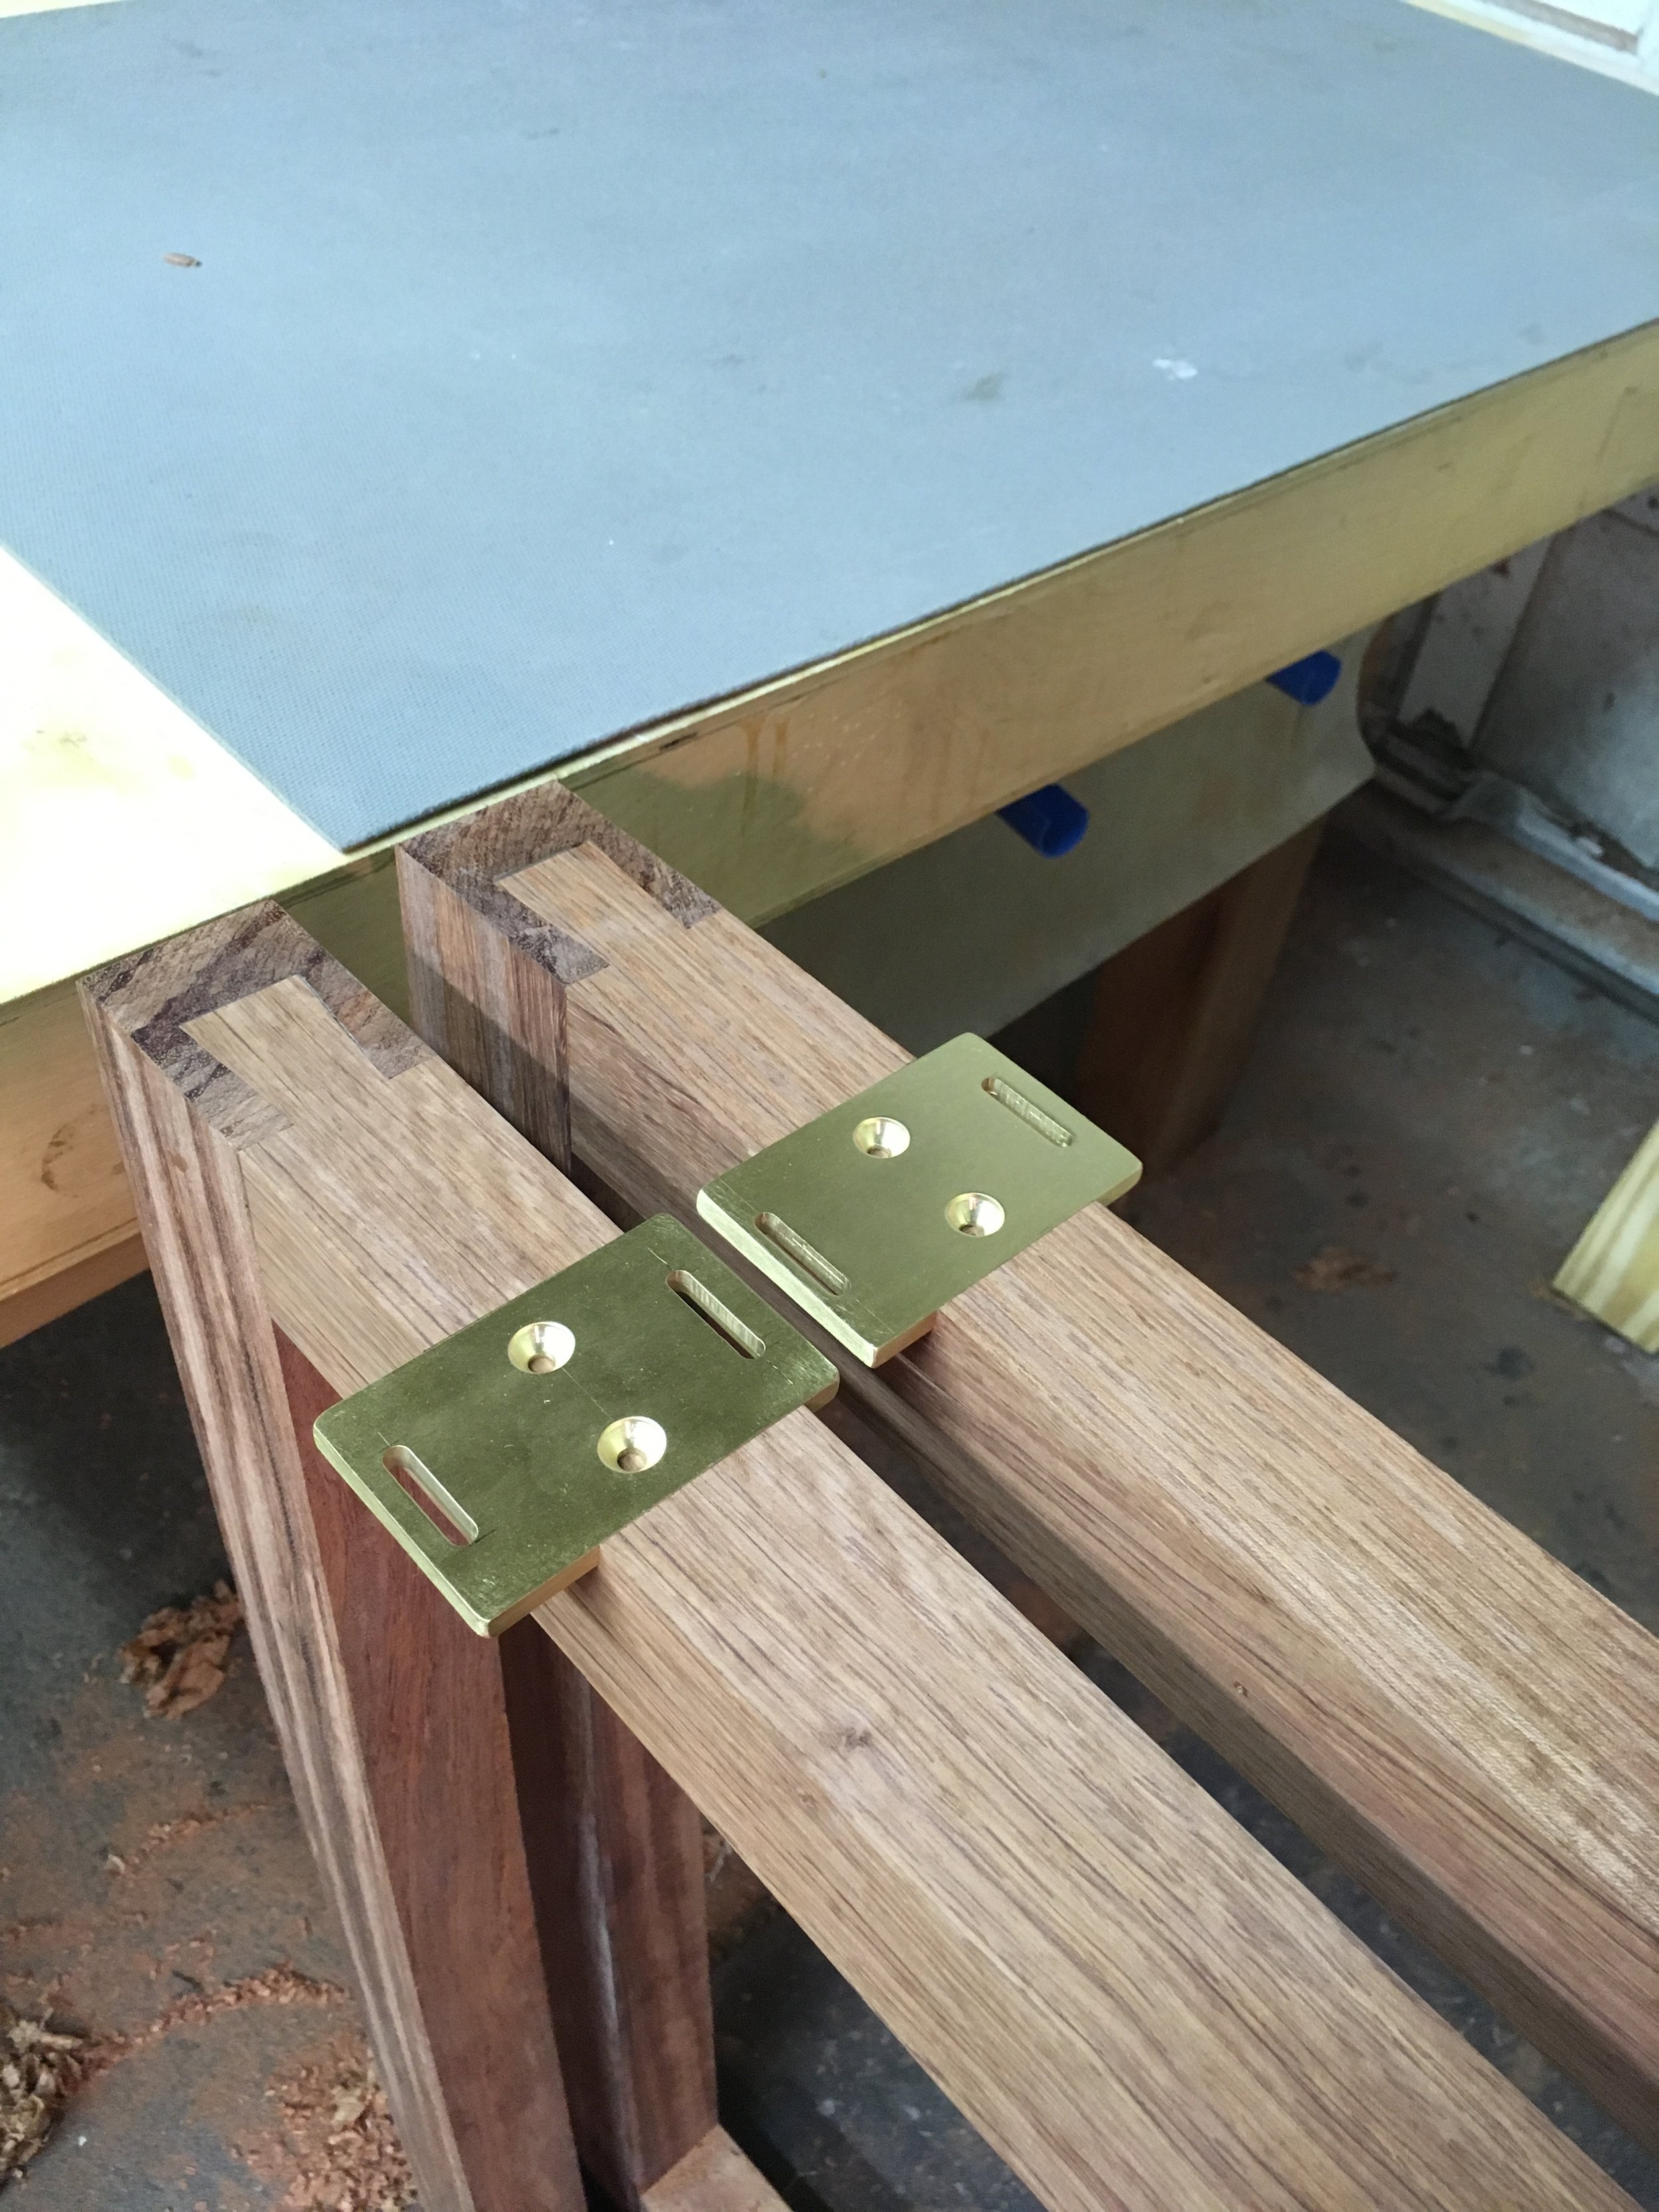
But alas it was only a table.. and this was just its base. So, in order to connect the base to the top and allow the top to expand and contract without completely destroying the base (and it certainly would have), I fabricated these brackets out of 1/4" brass stock. The top will be attached rigidly in the middle of the tabletop but the screws holding the outer edges will be able to slide in slots which I've milled into the brass as the relative humidity changes.
This just shows the completed base parts and how the brackets are mortised into place. The screws will hold them down but they are set down into the wood, that is what will really keep them from wiggling loose as time passes.
As a curiosity I have included this. Wood is being glued onto the edges of a veneered shelf that will be mounted under the tabletop. Where would I be without green tape?
Here is the dramatic transformation from a dry dusty unfinished slab to a freshly oiled, lustrous tabletop showing the beautiful figure of this bubinga. Here is the Finished Table.


