The basic Idea when gilding is to glue a layer of thin gold onto a surface. It is a simple process but not exactly an easy one. The reason for this is that the layer of gold is only 1/250,000th of an inch thick... Apparently that is about 430 atoms. Thin indeed. I can't decide which is more baffling to me, the thin-ness of the leaf or the smallness of atoms. I guess the size of atoms. A cube of gold leaf has 80 million atoms! It freaks me out when I think of how many atoms are now on this one mirror frame alone. "Le silence éternel de ces espaces infinis m'effraie" Blaise Pascal. Pense #206. Infinity. Fear. Clowns and Boogey Men.

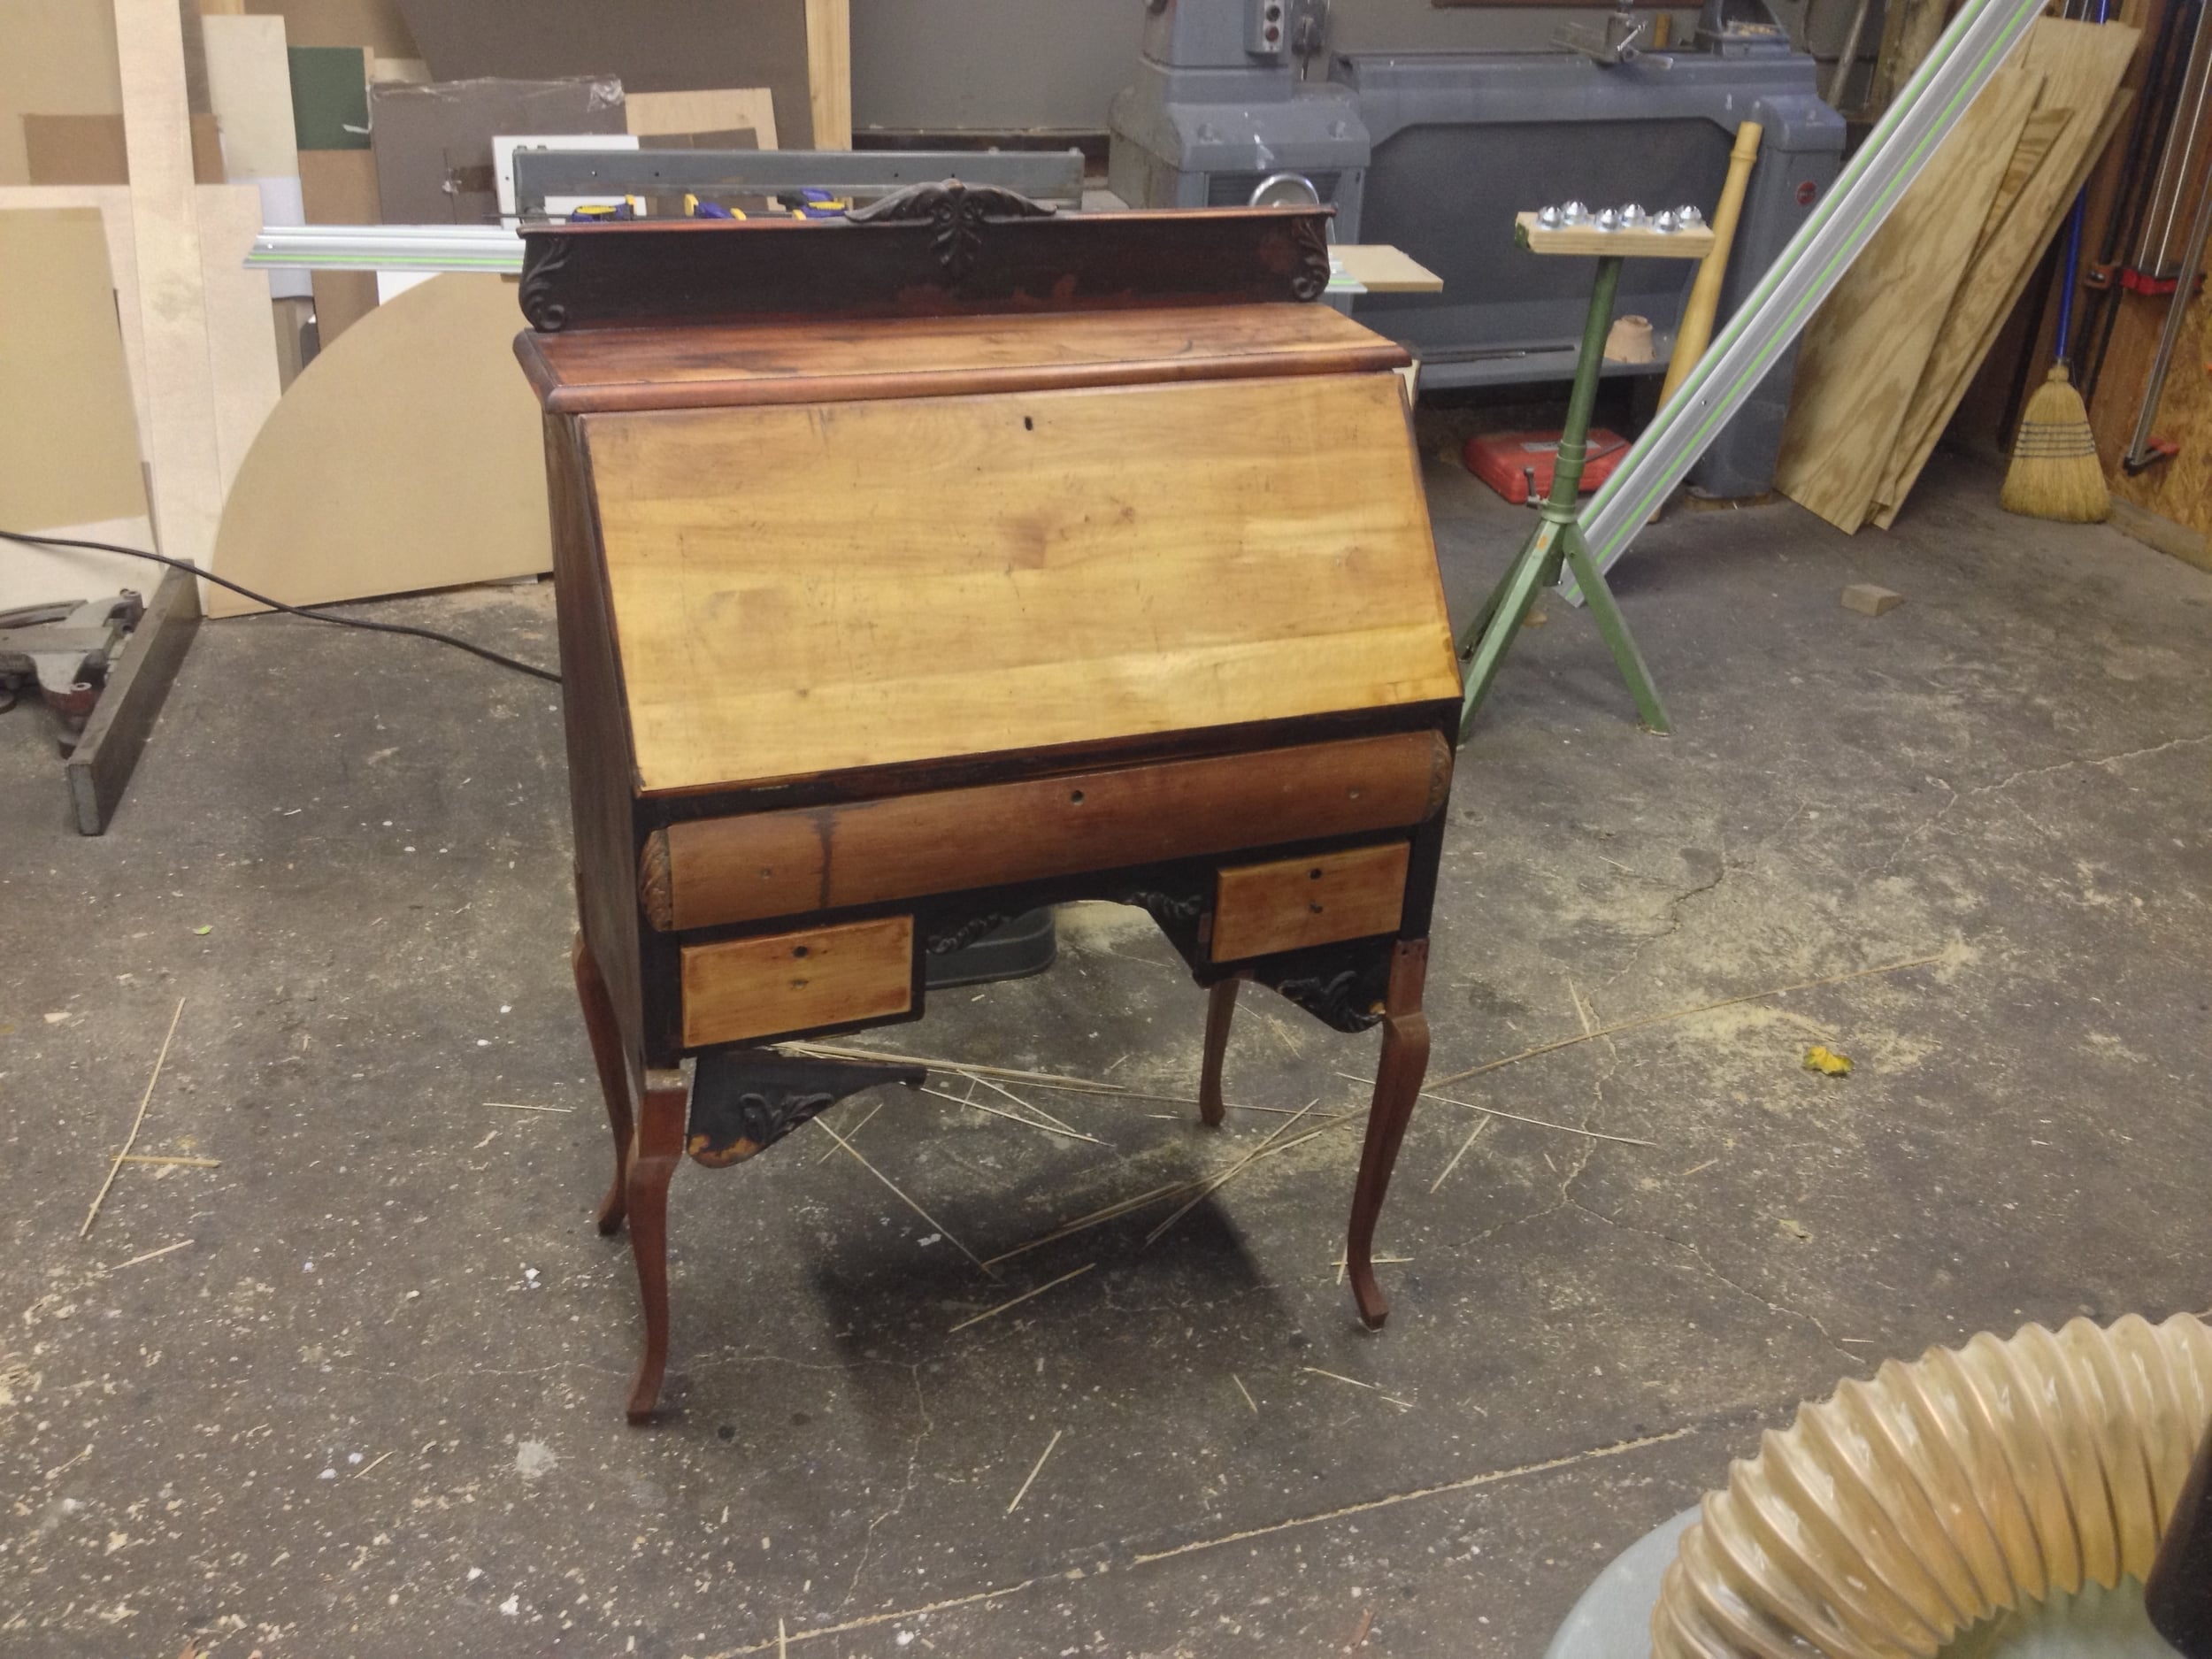
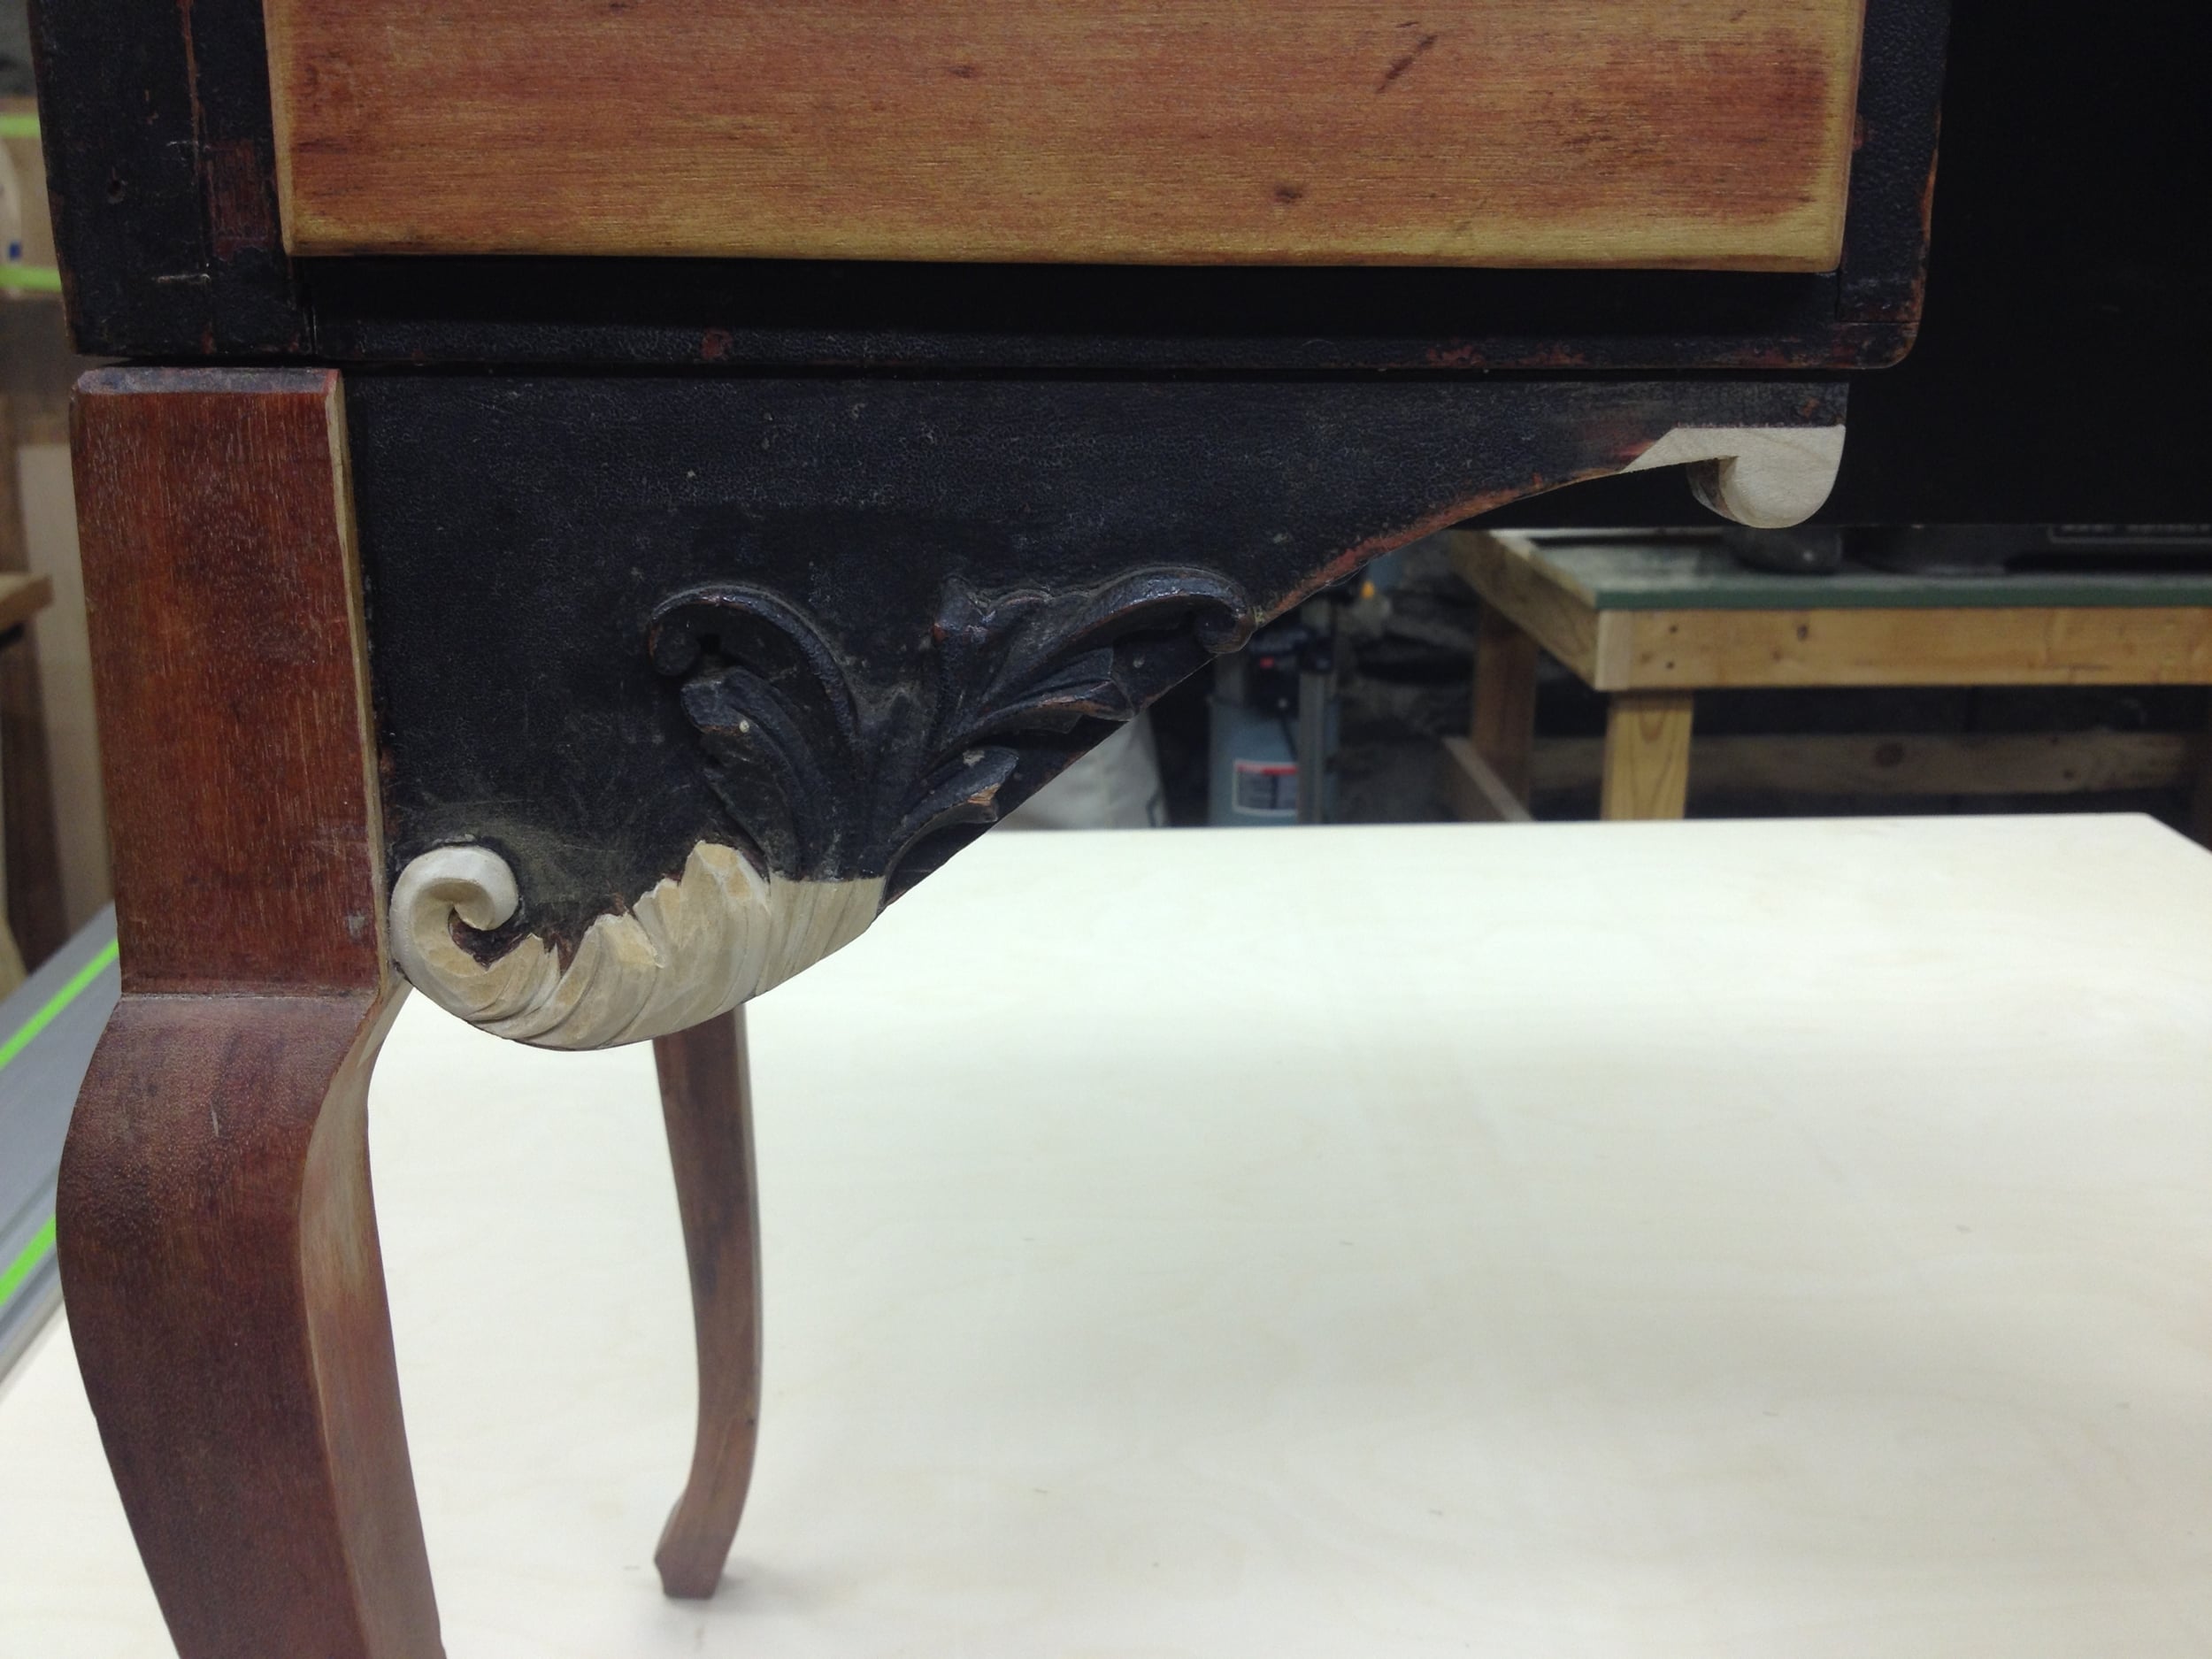
Ehem... Sorry. Anyhow this was the frame I received into my shop. It was painted so my first step was to clean the surface and sand it smooth. Because the gold is so thin, there is no way of disguising imperfections in the surface it is applied to. I painted it with an oil based sealer which would then be sanded very finely.

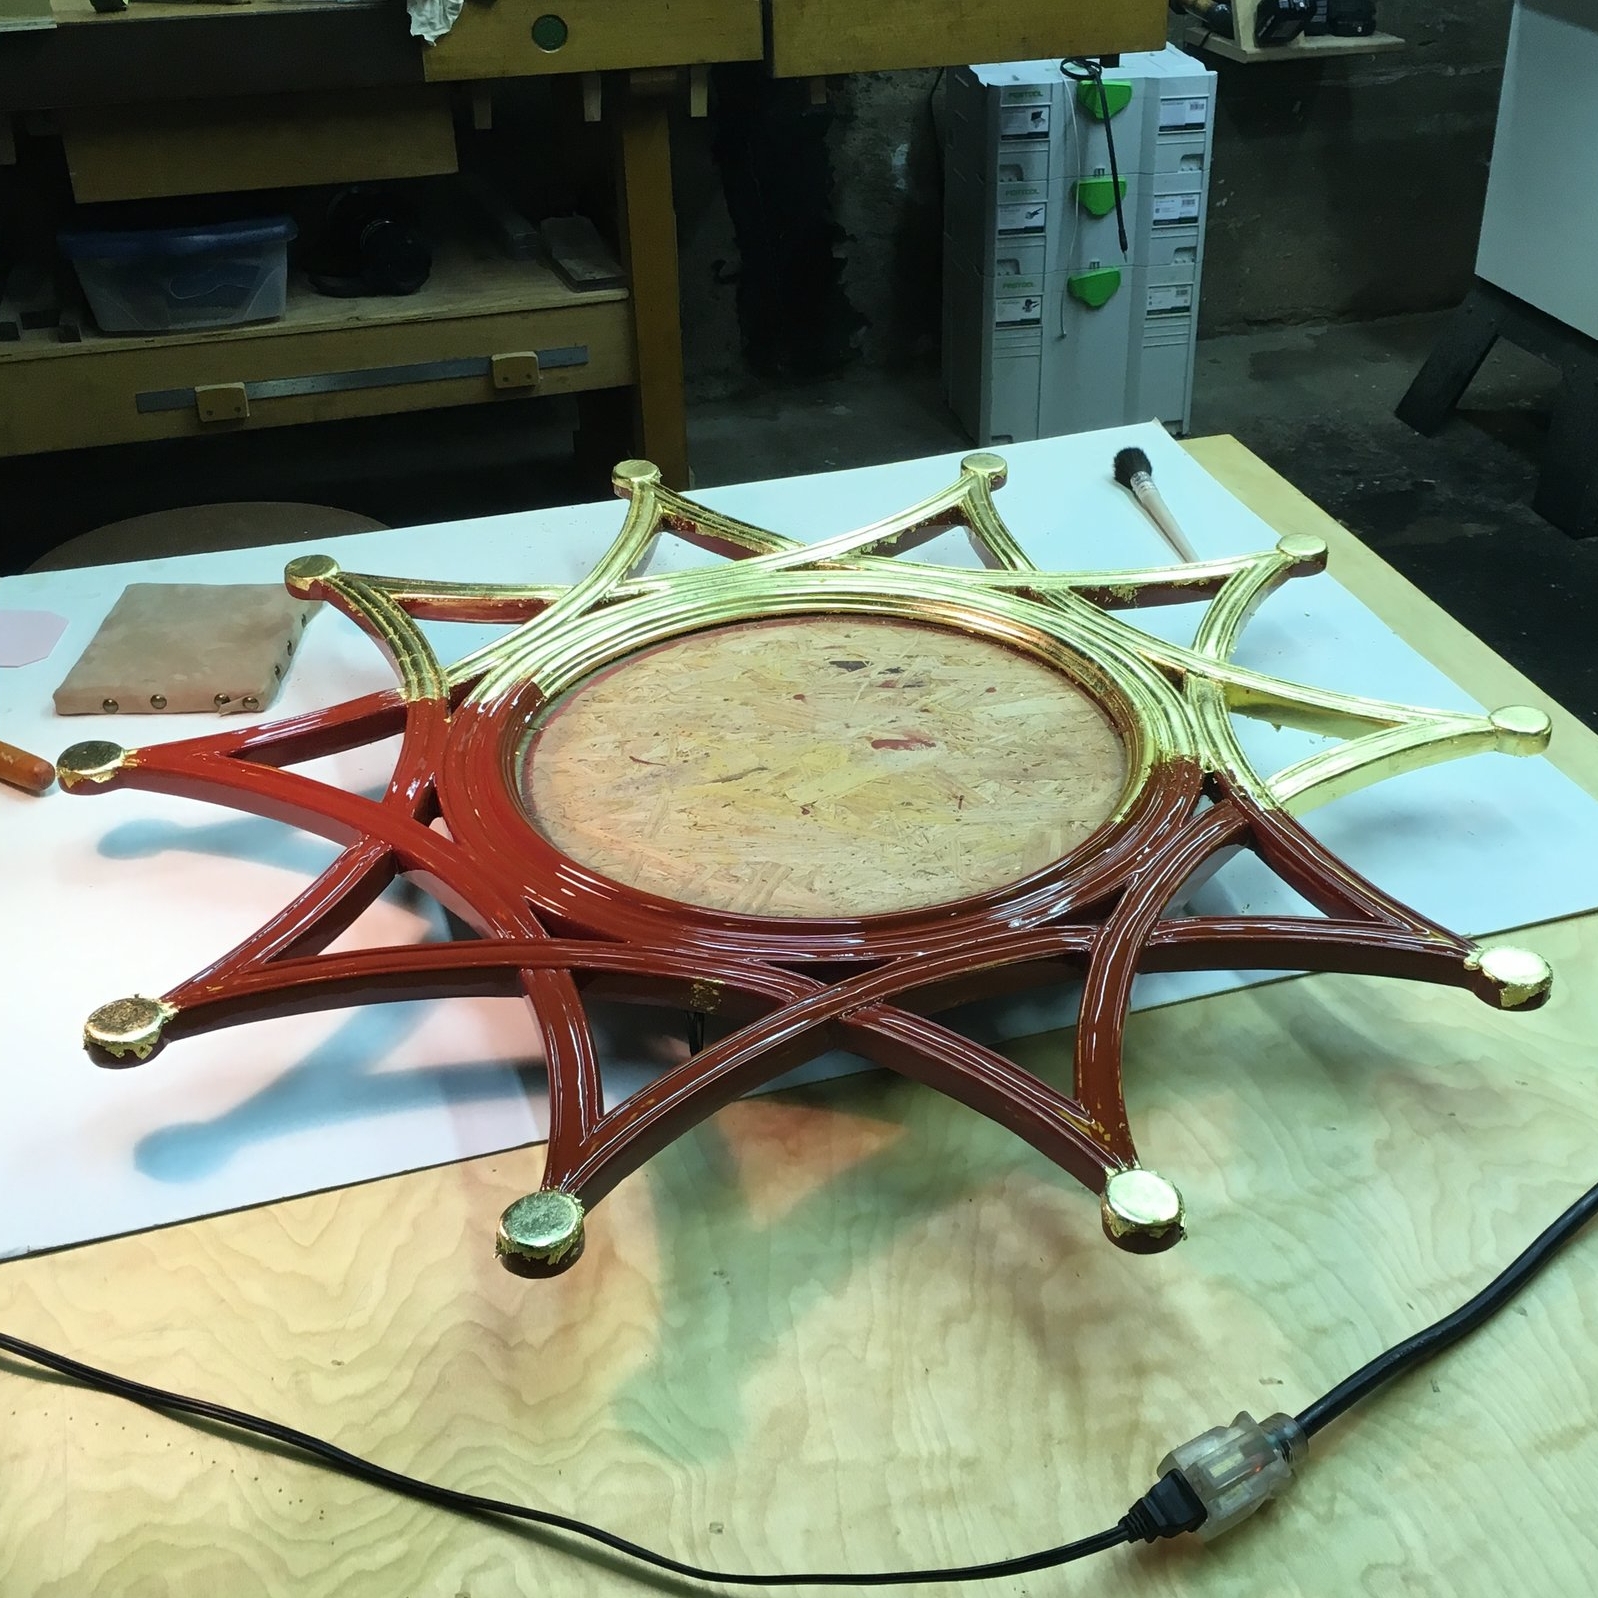
In the gilding world there are two methods of adhering the leaf. One uses water based glue and is called water gilding. The other uses oil based glue (gilders call the glue "size") and so it is called oil gilding. Of the two, water gilding is the higher art and requires more skill to apply. A water gilded surface can be shinier but is not as durable. It is not possible to oil gild and burnish the surface to the same mirror shine as with water but oil gilding is far more durable. Shiny was not the goal here so oil gilding was the method I used for this piece.
Gold leaf is not just ridiculously thin, it is also ridiculously fragile. It must be manipulated with special brushes and light puffs of air and must be protected from accidental breezes (or breathing) and static electricity or you'll find the gold blown across the room or crumpled into nothingness instantly. So, the oil size is applied and when it has dried just the right amount (no more and no less), the gold is applied piece by piece onto the surface.
Finally, after a lot of careful fussing, you have an object which basically looks like gold. It IS gold and has a luster no mere paint can come close to.